Lead-Wire Seal
Make sure that the lead-wire seal is in place on the hasp of each box. If the seal is missing or broken, you must
open the box and inspect the contents before you install a new leadwire seal. A broken or missing seal could
indicate that the contents of the box have been tampered with.
Bands
Inspect the metal bands for rust, bends, and twists. You will find that it is easier to replace damaged bands than
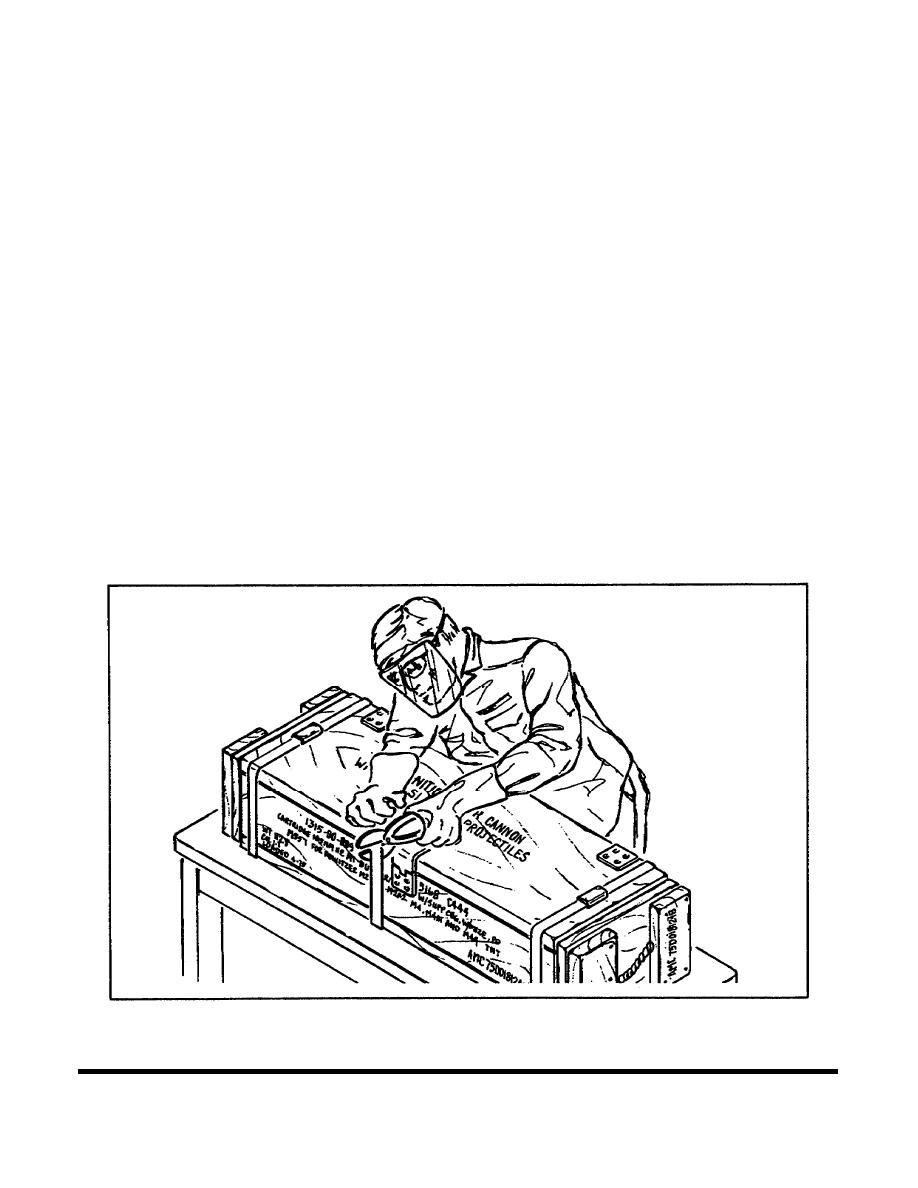
to repair them. For safety during banding operations, wear leather gloves, a face shield, and safety shoes. To
remove damaged bands, push down on the top of the box to ease the tension on the bands. Then use metal
cutting shears to cut each band along the side of the box (see Figure 1-4). Be careful. The bands may still jump
around when you cut them. Remove the damaged bands. Next, unroll enough banding to go around the box,
plus an extra 6 to 8 inches of banding to go through the band stretcher. Position banding under the box. Insert
one end of the banding through the stretcher so that the band is held firmly by the stretcher, with about 3 inches
of banding protruding from the stretcher. See Figure 1-5. Place a clip over the end of the banding. Thread the
loose end of the banding through the clip and into the stretcher head. Tighten the band by repeatedly moving the
ratchet lever until the edges of the banding begin to cut into the box. Using the banding crimper, crimp the clip in
two places. Release the locking pawl on the stretcher and slide the stretcher out. Then cut off any excess
banding.
Safety
An important safety precaution must be emphasized here. When an inspection calls for repairs to a wooden box,
whether it be for damaged hardware, a broken handle, splits in the wood, or other reasons, you must remove the
contents of the box first. The only exceptions are when you restencil or retouch markings or replace bands on a
box.
Figure 1-4. Cutting Metal Bands on a Wooden Ammunition Box.
MM2604
4


 Previous Page
