total quantitative systematic error, and R
is the final result in the
measurement.
9.
COMPUTATION OF ERRORS.
a. You will use one of the two basic procedures in calibration.
In
either case, an allowable error tolerance will be given, expressed as a or
e.
b. The normal procedure is to set the test instrument (TI) to full
scale or at a major scale division, which will be R. The standard is then
used to check the TI.
The difference between the reading on the standard
and the reading on the TI is a. Percent error may be computed then, using
the formula a/rx100%.
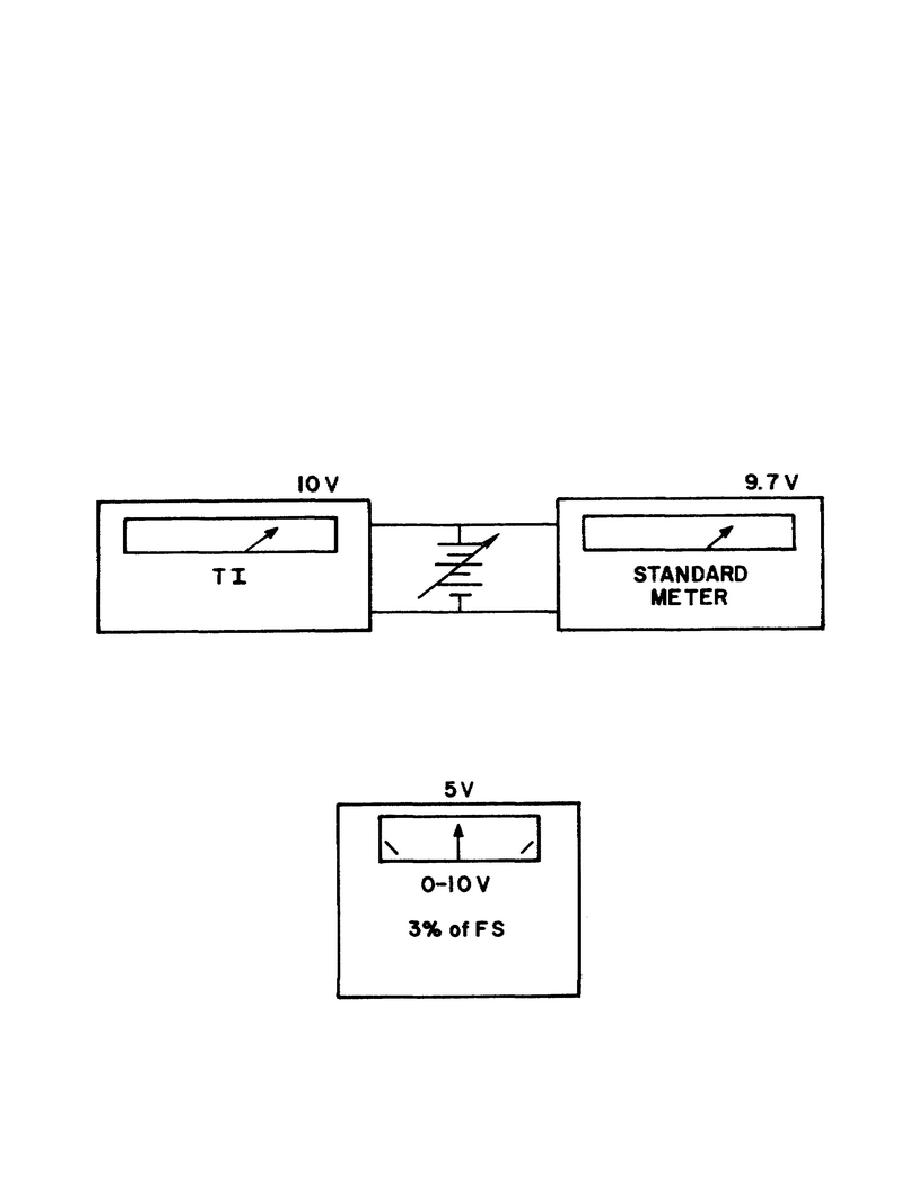
Example: A 10 volt, full-scale voltmeter is
calibrated at the full-scale point.
The meter has a manufacturer's
tolerance of 3% of full scale (FS). A variable voltage source is connected
to the meter (TI) and adjusted to cause the TI to read exactly 10 volts. A
standard meter is also connected to the voltage source and reads the true
value, 9.7 volts (figure 6).
Figure 6.
Full Scale Calibration
Example: A 10 volt, full-scale voltmeter is read at the half-scale mark of
five volts (figure 7).
The meter is 3% at FS.
The percentage of error
changes at the 5 volt reading.
r=5 volts, a=0.3 volt, and e=6%.
The
quantitative error remains 0.3 volt.
Figure 7.
Half-scale Reading
161


 Previous Page
